


Key Takeaways
- Prepare Before You Cut: Arrange bright lighting and clear mirror views, then rehearse your movements with the clippers switched off.
- Blend in Small Steps: Use your taper lever alongside suitable guards to make gradual length changes instead of expecting one setting to erase every line.
- Protect the Longer Hair: Plan your undercut boundary around your head shape and preferred style, then clip the top securely out of the cutting area.
- Maintain Your Equipment: Clear away hair, disinfect for the full labeled contact time, and oil the blades as directed by the manufacturer.
Giving yourself a haircut can make routine grooming more convenient, although your first attempt may feel unfamiliar. Rushing the preparation or overlooking basic technique can lead to mistakes. A careful setup, conservative length choices, and regular progress checks give you a better starting point.
Arrange Your Workspace and Rehearse Your Movements
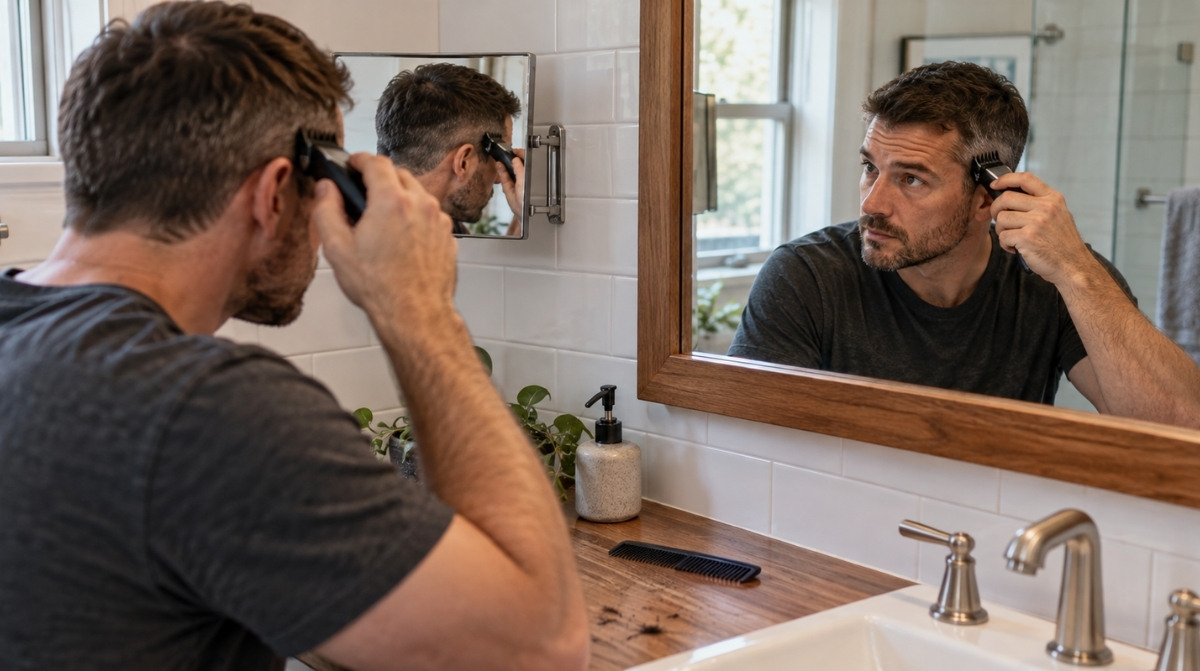
Choose a space where you can see the sides and back of your head without twisting into an awkward position. Bright, even lighting makes differences in length easier to spot, while a clear counter keeps your attachments and tools within reach. Pair a main mirror with a handheld mirror, or use a firmly secured mirror system that provides several viewing angles.
Your equipment should suit both your hair and the haircut you intend to attempt. Select clippers with compatible attachments and clear care instructions rather than judging their performance by motor type alone. Even a rotary-motor clipper can snag if its blades are worn, insufficiently lubricated, or pushed through hair too quickly.
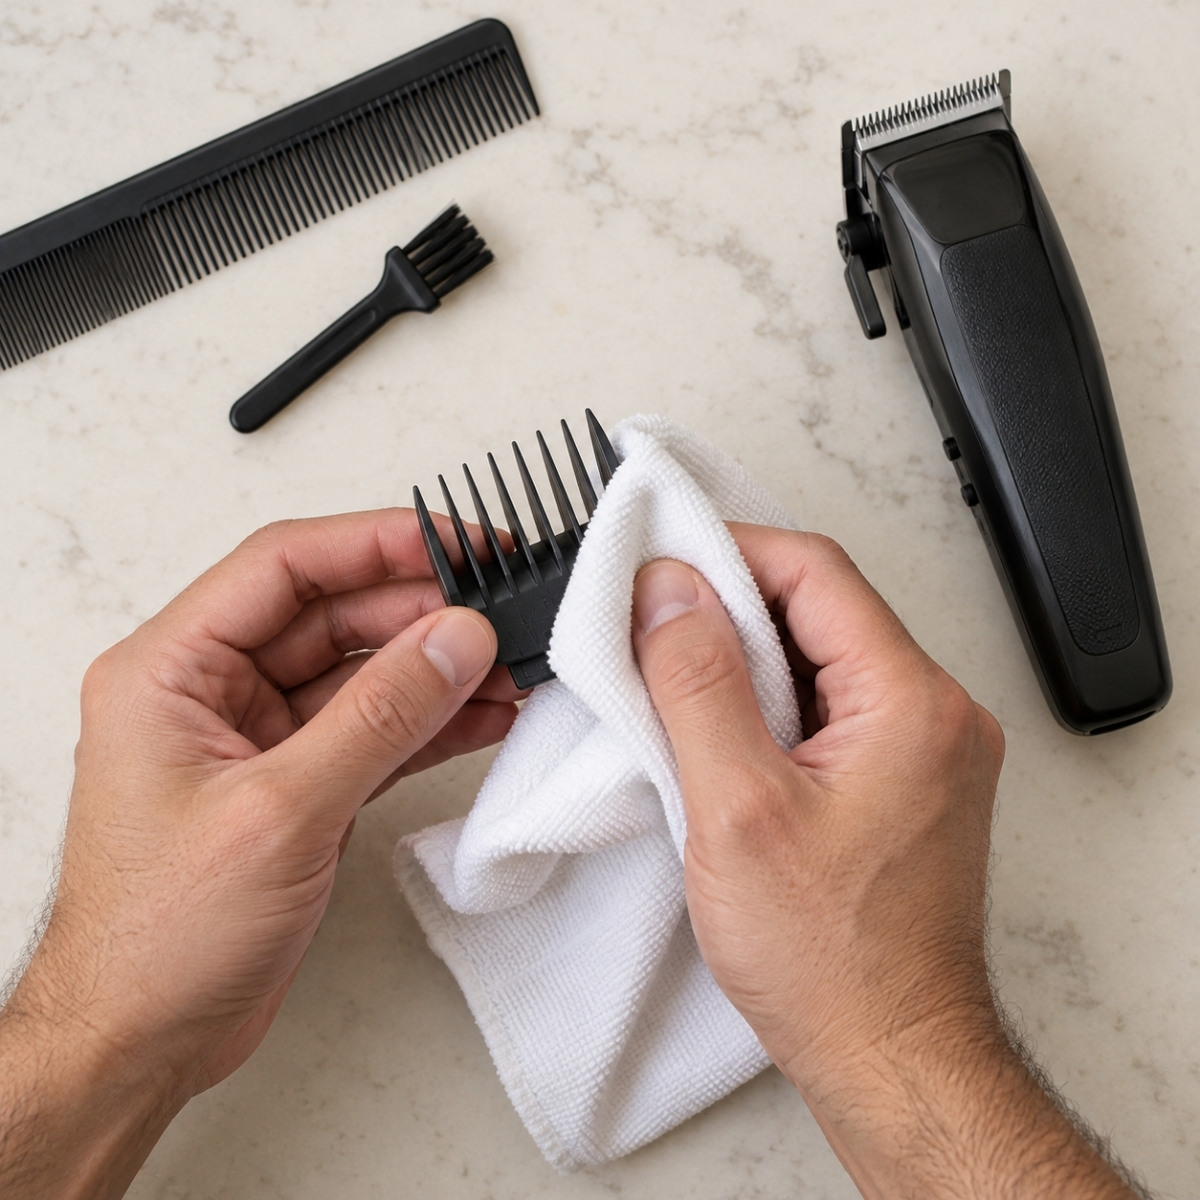
Keep a comb, sectioning clips, a blade brush, the recommended clipper oil, and an equipment-compatible disinfectant nearby. If you plan to shorten the top, add sharp haircutting shears to your setup.
Before learning how to barber your own hair with the tool running, practice reaching the areas you intend to cut. Leave the clippers switched off and watch how your hand appears in each mirror. Different mirror arrangements can make movement feel confusing, so rehearse approaching your stopping point until you can do it deliberately.
You can use your free hand to feel the contours of your head and locate the section you are working on. However, do not treat your fingers as a barrier that will reliably stop a moving blade. Keep them outside the cutting path and depend on a securely fitted guard, short passes, and repeated visual checks.
Begin with more length than you expect to need. Braun advises home haircutters to start with a longer guard before moving to shorter options. Try your chosen setting on a small section first, assess the result, and only then continue across a larger area.
Create Gradual Transitions With Your Lever and Attachments

Before attempting a fade, get familiar with the adjustments your particular clipper provides. On many adjustable-blade models, closing the taper lever produces a closer cut and opening it leaves additional length. The available range varies with the clipper and blade, so use the manufacturer’s specifications instead of assuming that every model cuts identically.
Wahl describes the taper lever as a way to adjust cutting length between guard settings. Some levers move freely through their range, while others click into set positions. Both arrangements allow smaller adjustments than changing attachments alone.
Moving straight from a shorter guard to a substantially longer one can leave a noticeable band between sections. Before you begin, decide how high you want the transition and how much contrast you want to retain. Our guide to clipper numbers, fade styles, and communicating your haircut preferences can help you plan those details.
Within a single guard’s adjustment range, leave the lever open toward the upper edge of the section. Use a partially closed setting slightly below it, followed by a closed setting closer to the bottom. Work in narrow areas so each shorter setting stays below the longer hair you want to preserve.
A lever adjustment has limits. If the guideline was made at a much shorter length, the guard you are currently using may not reach it effectively. A smaller attachment, an intermediate size, or a different blending method may be necessary. Approach the line with the longer option first and reduce the length cautiously rather than repeatedly carrying a short setting farther upward.
At the end of each upward pass, guide the clippers gently away from your scalp. This outward motion helps avoid cutting too deeply into the longer section above. Pressing firmly against the head’s curve can remove hair you intended to keep.
Pay attention to the direction in which the hair grows. Gillette recommends slow passes against hair growth when trimming at home. Growth patterns often change near the crown, so inspect that area before choosing your next direction. Comb the section between passes to lift flattened strands and check whether they still need cutting.
Map Out Your Undercut Before Shortening the Sides
An undercut depends on separating the hair you want to retain from the hair you intend to shorten. In a disconnected undercut, the contrast between the top and the shorter sides and back is deliberate. You do not need to blend away that separation if it belongs to the style you have chosen.
The parietal ridge, around the broadest area where the sides curve toward the top, can provide a useful reference. It does not dictate where every undercut must begin. Your parting should also account for hair density, natural growth, head shape, and the direction in which you wear the top.
Raising the shortened section removes more of the hair that would otherwise overlap the sides. This can alter the haircut’s outline, but it does not mean the remaining top will necessarily stand outward. Its behavior also depends on texture, growth direction, retained length, and styling.
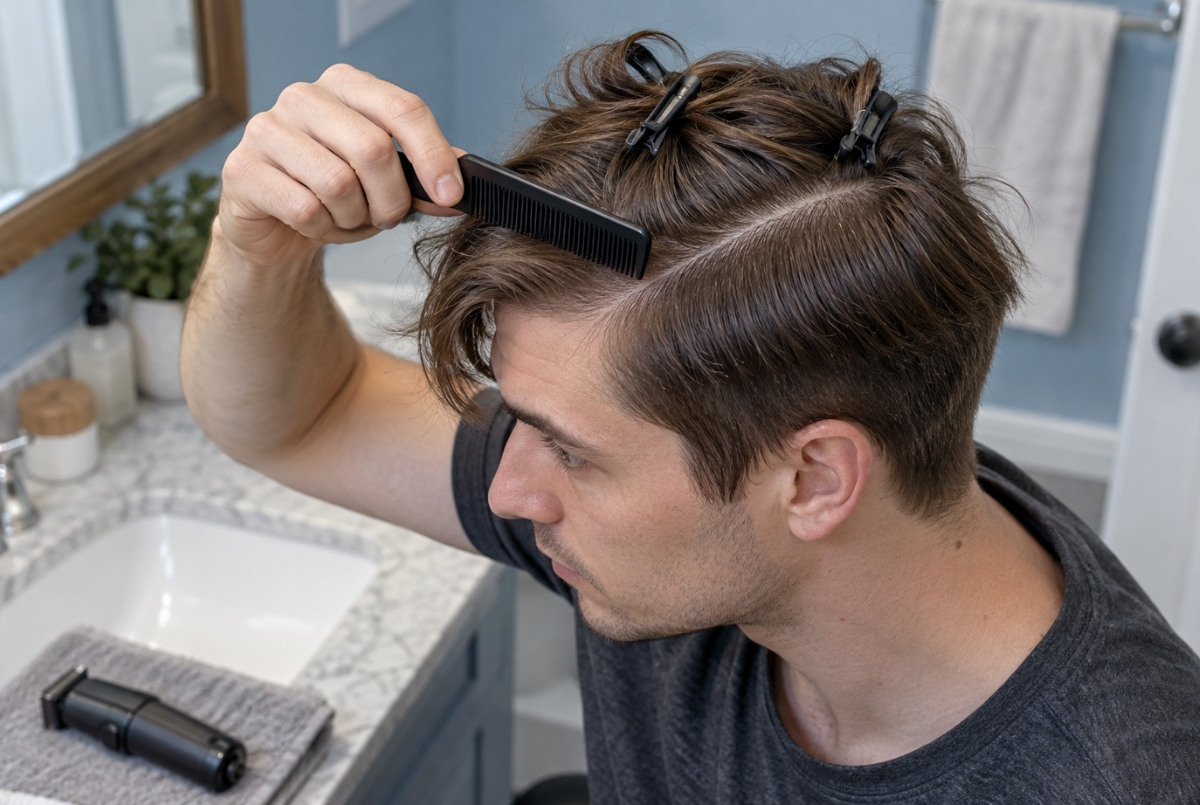
Comb the longer hair into its usual position before drawing your partings. A little moisture may make that section easier to manage. Establish a clear line on each side, connect it around the back in the shape you want, and fasten the longer hair with sectioning clips.
Inspect the boundary from several angles before switching on the clippers. When uncertain, preserve a larger top section for the first attempt. Use a longer attachment to establish the side length, keep your passes beneath the parting, and pause to check whether any strands have escaped the clips.
Reduce Irritation Through Careful Tool Maintenance
Comfortable cutting starts with equipment that is clean and working properly. Hair buildup, damaged teeth, poor alignment, or inadequate lubrication can affect performance and contribute to irritation. Pulling, snagging, or stalling is a reason to stop and inspect the tool.
Turn the clippers off before clearing trapped hair and checking their condition. Refer to the manual before making blade adjustments, and replace damaged parts rather than applying extra pressure to compensate. Neither motor design nor a high strokes-per-minute rating guarantees a comfortable haircut on its own.
Avoid repeatedly passing over skin that already feels irritated. The American Academy of Dermatology identifies follicle damage as a factor that can allow folliculitis to develop. Friction and hair removal can damage follicles, making gentle technique and attention to skin discomfort important.
Treat cleaning, disinfection, and lubrication as separate maintenance tasks. Cleaning clears away hair and debris. Disinfection targets the microorganisms specified on a product’s label. Oil reduces friction between moving blade surfaces, but it does not take the place of disinfectant.
With the clippers switched off and disconnected from power, remove visible hair using the method recommended for your model. Complete any additional cleaning required by the equipment and product instructions before applying a suitable disinfectant. The Virginia Department of Professional and Occupational Regulation states that disinfection requires a clean surface and the full labeled wet contact time. Spraying and immediately wiping the product away may prevent it from working as intended.
After that contact time, follow the label’s directions for any required wiping, rinsing, or drying. Keep the clipper body out of liquid unless its manufacturer explicitly allows immersion. Give compatible combs and attachments appropriate cleaning and care as well.
Apply the oil specified for your clippers once the required cleaning and disinfection steps are complete. Wahl’s oiling guidance explains how oil is distributed across its cutting blades, but the correct quantity and application points should match your own model. Remove excess oil before returning the blades to your skin.
Consistent care helps limit contamination, friction, and unnecessary irritation. These routines also introduce some of the habits expected in professional barbering. Formal education develops them further through supervised practice in cutting, sectioning, consultation, growth-pattern assessment, and infection control.
For readers considering a career, the wider beauty industry includes much more than haircutting. Fortune Business Insights estimates the global salon services market at approximately $284.53 billion in 2026. Its coverage spans commercial hair, nail, and skin services for women and men, rather than being limited to barber services. Exploring relevant training and licensing requirements is a practical next step if you want to move from personal grooming into professional work.
Common Questions About Cutting Hair at Home
When do my clippers need blade oil?
Use the schedule and application instructions supplied with your model. Many clippers need lubrication before cutting or following cleaning, but the amount and placement are not universal. If the blades drag or become unusually hot, pause to check for buildup, insufficient lubrication, or damage before continuing.
Can I fix a patch that I have cut too short?
Put the clippers down and inspect the mistake before trying to blend it away. Attaching a longer guard will not replace hair that has already been removed, and shortening the surrounding area can enlarge the problem. Styling may disguise some patches, while a barber may be able to soften the transition around others. The time needed for the patch to become less noticeable varies with its depth and the surrounding length.
Are household scissors suitable for the longer section?
Sharp haircutting shears generally provide better control for trimming hair. Kitchen and craft scissors differ in blade condition and design, and unsuitable or dull blades may bend or fray strands instead of making a clean cut. There is no dependable timeline for visible damage, so do not assume that household scissors inevitably produce split ends within a few days.
How much time should I reserve for my first fade?
Allow at least 45 to 60 minutes for planning purposes, with additional time available if you need it. This is a flexible allowance rather than a promised finishing time. Your starting length, intended style, tools, and familiarity with the process all matter. Give yourself room to inspect the attachment, check your position, and compare both sides throughout the haircut.
Explore Where Your Interest in Hair Design Can Lead
Enjoying home haircutting may encourage you to learn more about professional hair design. Guided practice can help you develop cutting control, sectioning skills, and the sanitation habits needed when working with clients.
Visit our Enrollment page to explore the next steps at Perimeter Beauty and Barber Institute. You can request information, arrange a campus tour, and speak with our admissions team about hands-on training and your goals.